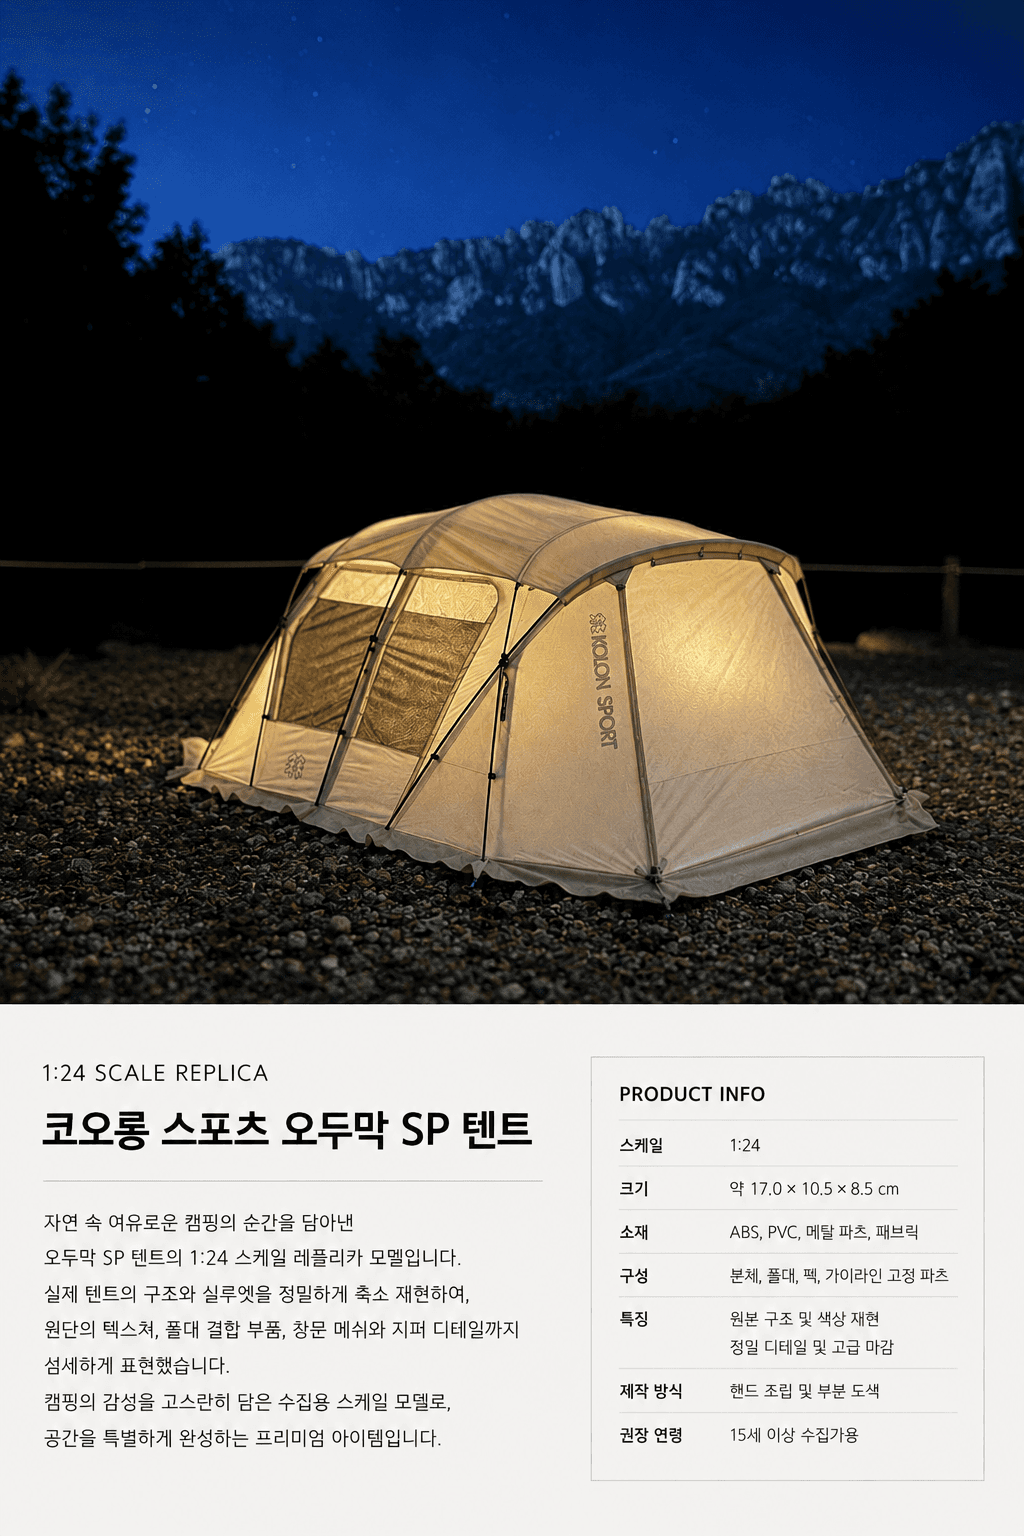
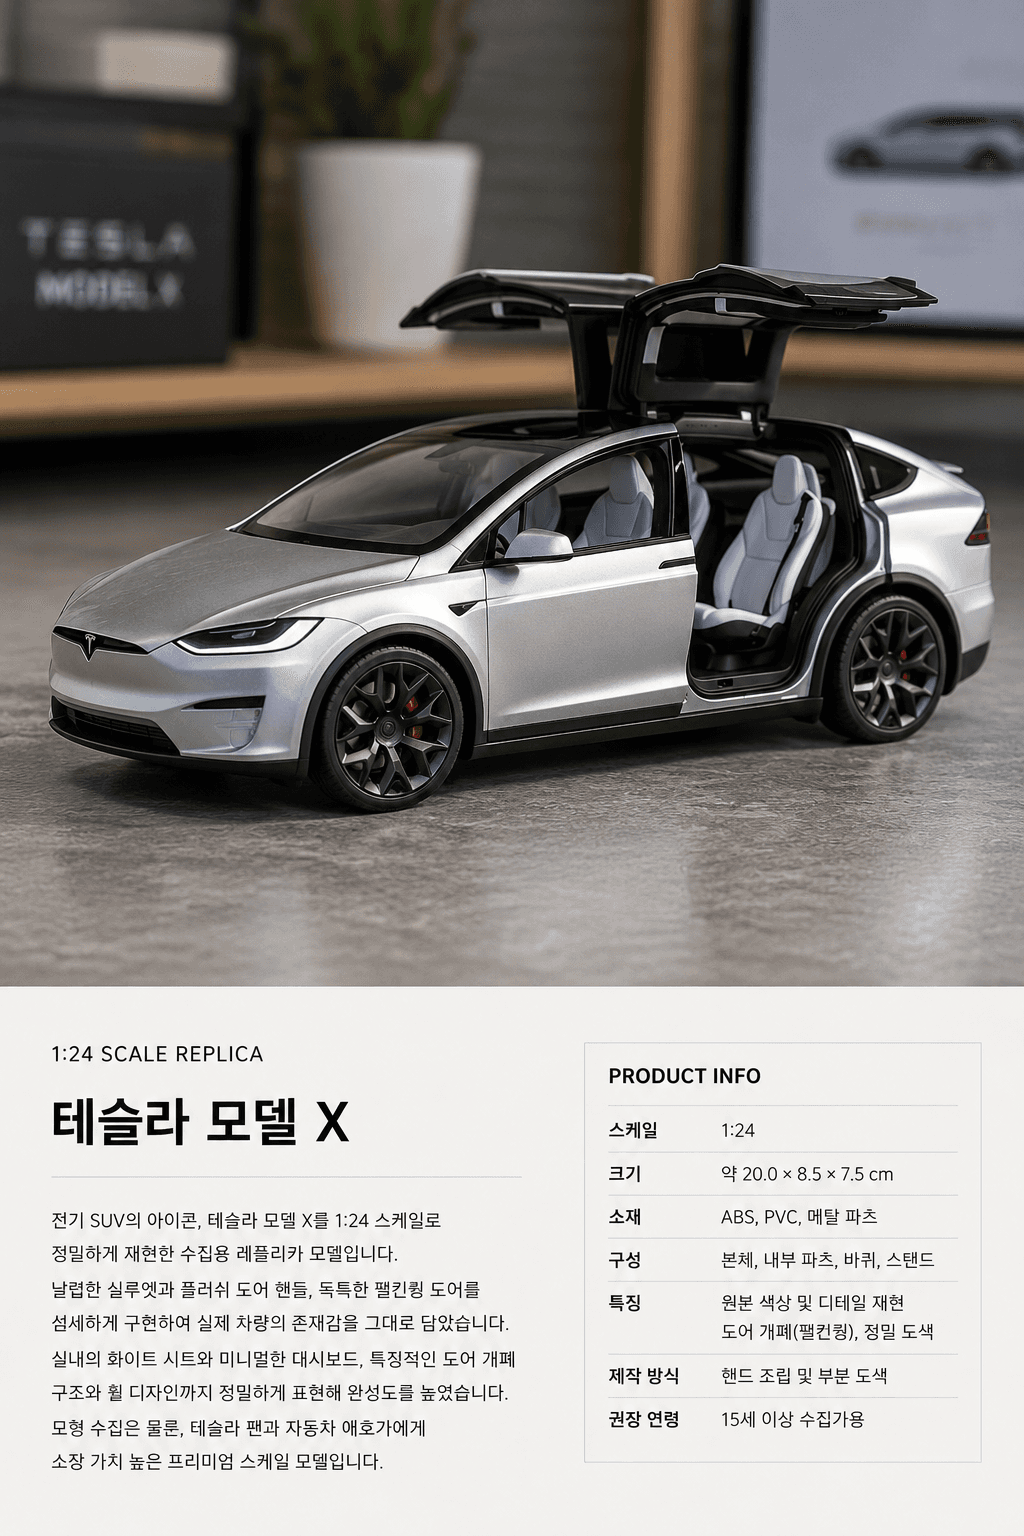
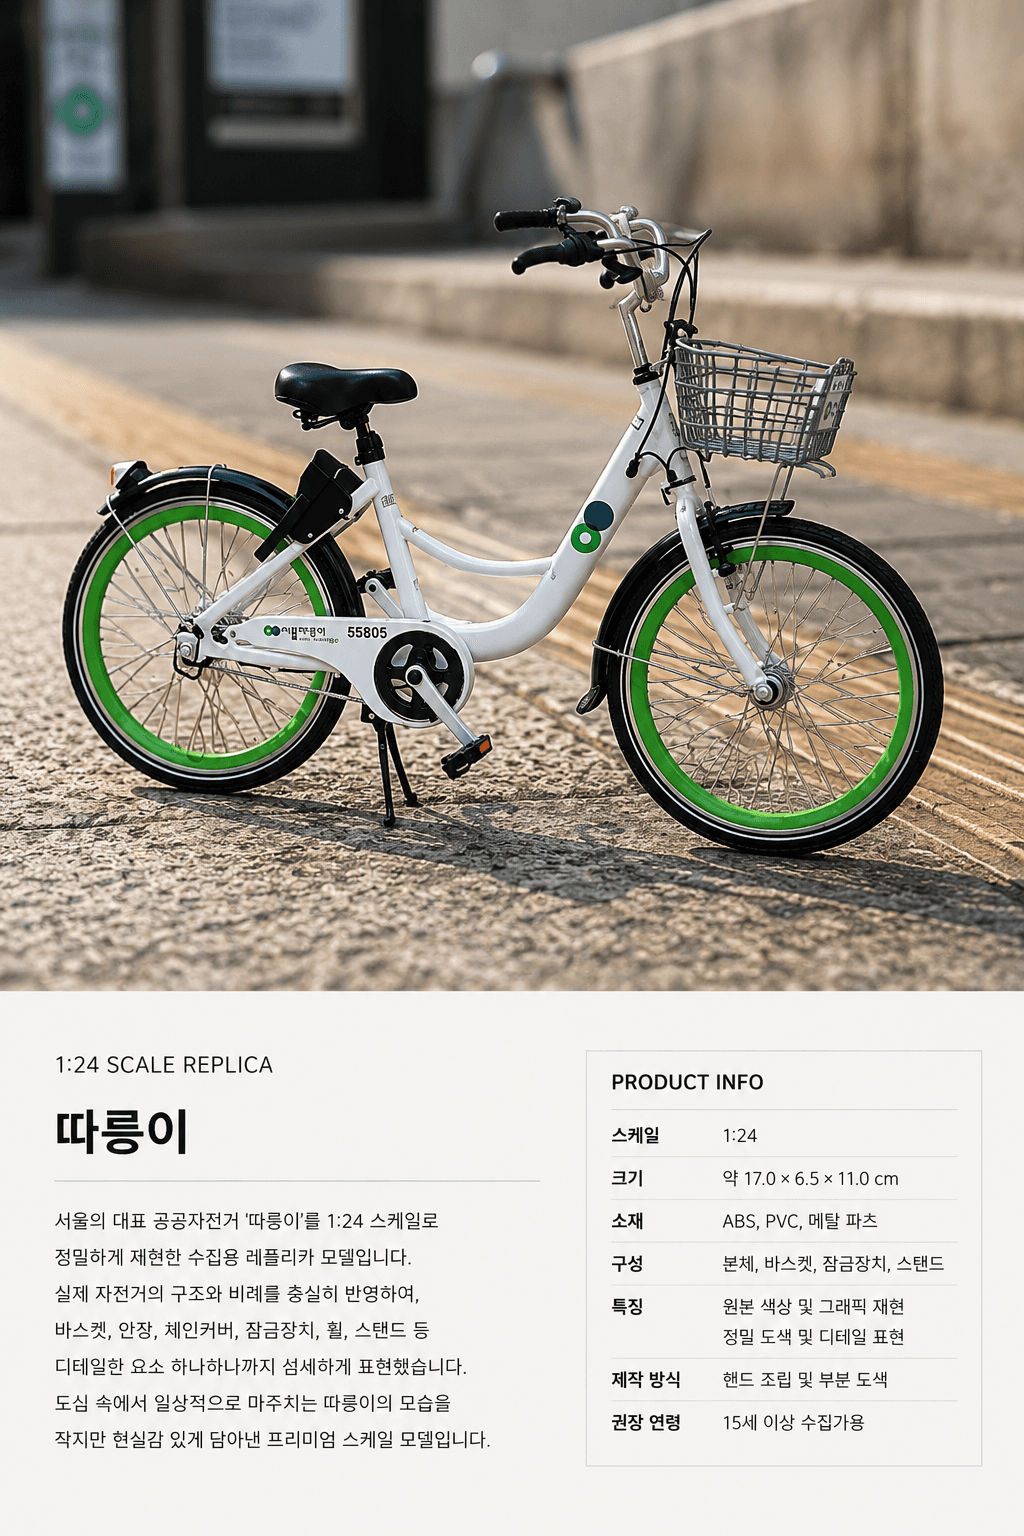
Based on the subject in the uploaded photo, produce a single vertical product-introduction image.
Divide the image into two areas.
The top ~70% should look like a photo of a collector's scale replica — the real product precisely miniaturized at 1:24 scale.
The bottom ~30% should be a clean product-introduction area on a white or very light ivory background.
[Top image area]
The main model at the top must be based first and foremost on the currently uploaded photo.
Its shape, proportions, colors, structure, material feel, part composition, logos, graphics, text, and surface details must follow the original in the photo as closely as possible.
Even if the user separately provides a product name, brand name, or model name, the main model's shape and details must still follow the attached photo.
Do not alter the form to match the product name or description.
In particular, the position, orientation, size, and placement of logos, graphics, and text on the top image must stay exactly as seen in the attached photo.
Use any provided product/brand/model names only for the bottom introduction area — do not newly apply them to the main model's surface.
Do not add new text or logos to the main model based on the product name.
Do not change the orientation of existing logos or reposition them for visibility.
A logo that appears vertical in the photo stays vertical; never invent a horizontal logo or model-name marking that isn't in the photo.
Do not add brand names, model names, or decorative graphics that aren't in the photo.
The main model should look like a small, precise collector's miniature — but never cutely exaggerated or characterized like a toy.
Do not round off or simplify the forms; keep realistic proportions and structure, as if the actual product were shrunk as-is.
Naturally express the fine seams, assembly lines, small parts, material grain, and finishing marks visible at small scale.
The surface must not be too perfect or CG-smooth. Like a real handcrafted precision model, add — subtly — traces of fine dust, tiny scratches, a gentle handled-by-hand feel, material grain, slight color variation, and surface unevenness.
But keep it in premium collector's condition — never dirty or worn-looking.
[Top background area]
The top background should not be a staged toy diorama, but a realistic environment that looks like the actual place of use, miniaturized and photographed.
The floor texture, surrounding objects, weather, natural light, and sense of distance should feel like somewhere this item would really be used or displayed.
The scene should feel like a candid shot taken on location — not fantastical or overly staged.
Create this image fresh, based only on the product in the currently uploaded photo.
Do not reference or repeat previously generated images, earlier conversations' backgrounds, previous products' shooting locations, or the composition, color, or mood of past results.
Do not habitually carry over any specific background, sense of place, composition, palette, or mood from earlier images.
Choose the background solely from the current product's category, shape, purpose, and real usage context.
The background is not one fixed place — naturally pick one realistic location where the current product would actually be used or displayed.
Choose the most fitting realistic setting among its actual usage, storage, display, hobby, transport, or indoor/outdoor contexts.
However, the background must never come before the product.
It works only as a supporting element that explains the main model — it must not visually outshine it or steal the subject.
Look only at the kind of object and its usage context visible in the uploaded photo, and compose a new realistic background for this image.
Let the item's hobby or usage context show through subtly.
Use elements like floor texture, nearby objects, traces of gear, natural elements, indoor props, packaging, storage tools, work traces, and signs of use — placed naturally, never louder than the main model.
Blur the background with shallow depth of field, expressing only a natural sense of distance, floor texture, light, and surroundings, as if shot on location with a macro lens.
[Composition and lighting]
Shoot from a low-angle 3/4 view, slightly below the main model's eye level.
The model sits slightly askew; apply shallow depth of field and natural lens bokeh like a close-up product photo taken with a macro lens.
Focus must land on the main model's key details.
Base the lighting on soft natural light or the real location's lighting.
Avoid heavy studio lighting, artificial highlights, and excessive gloss; keep natural exposure and color, as if shot with a real camera.
The top image must read as a high-resolution, photorealistic macro photo.
It must not look like an AI image, a 3D render, a plastic toy, a cute miniature, or a cartoon illustration.
[Bottom product-introduction area]
Add a clean product-introduction text area at the bottom.
Place this text only in its own edited introduction area — never on the main model's surface.
On the bottom left, in this order:
1:24 SCALE REPLICA
Product name or category name
A short introduction of 2–3 paragraphs
If the user provided a product, brand, or model name, reflect it only in the bottom title and introduction copy.
Never use that name as grounds to change the top model's shape, colors, logos, graphics, or text placement, or to add new elements.
If the user gave no name, do not invent a product or brand name.
Write the title only from the category or form clearly identifiable in the photo.
Do not fabricate examples; use only the type of object plainly visible in the uploaded photo.
Do not assert uncertain brand names, model names, product names, or specs.
Describe only what is visible in the photo.
Write the introduction in the tone of a real collector's scale-model introduction.
Naturally describe the original item's distinctive form, the miniature's details, and the mood of the background scene.
Keep it calm and trustworthy like a premium product catalog, not overblown ad copy.
On the bottom right, add a PRODUCT INFO box.
Specs should look like real product information, but avoid overly specific claims when uncertain — center on general scale-replica descriptions.
PRODUCT INFO example items:
Scale: 1:24
Size: approx. 10–20 cm
Materials: ABS, PVC, metal parts
Contents: main body, key parts, mounting parts
Features: original colors and graphics reproduced, precision paintwork, design based on the real structure
Production: hand-assembled with partial hand-painting
Lay out the bottom like a premium product catalog: generous whitespace, crisp typography, thin dividers, and calm colors — no heavy decoration.
[Hard constraints]
Do not add any text, logos, or graphics to the main model that are not in the original.
Product names and introduction copy go only in the bottom introduction area.
Do not change the main model's logo orientation, position, or graphic placement.
The introduction panel must not overlap the top model.
Do not add people, hands, watermarks, doodles, or unnecessary decorations.
Do not repeat backgrounds, moods, compositions, or sense of place from previously generated images.
Produce this independently, based only on the subject in the currently uploaded photo and the product info the user gave this time.
The final result should look like a real precision-model photo combined with a premium product-introduction page.
----
Additional notes (optional)