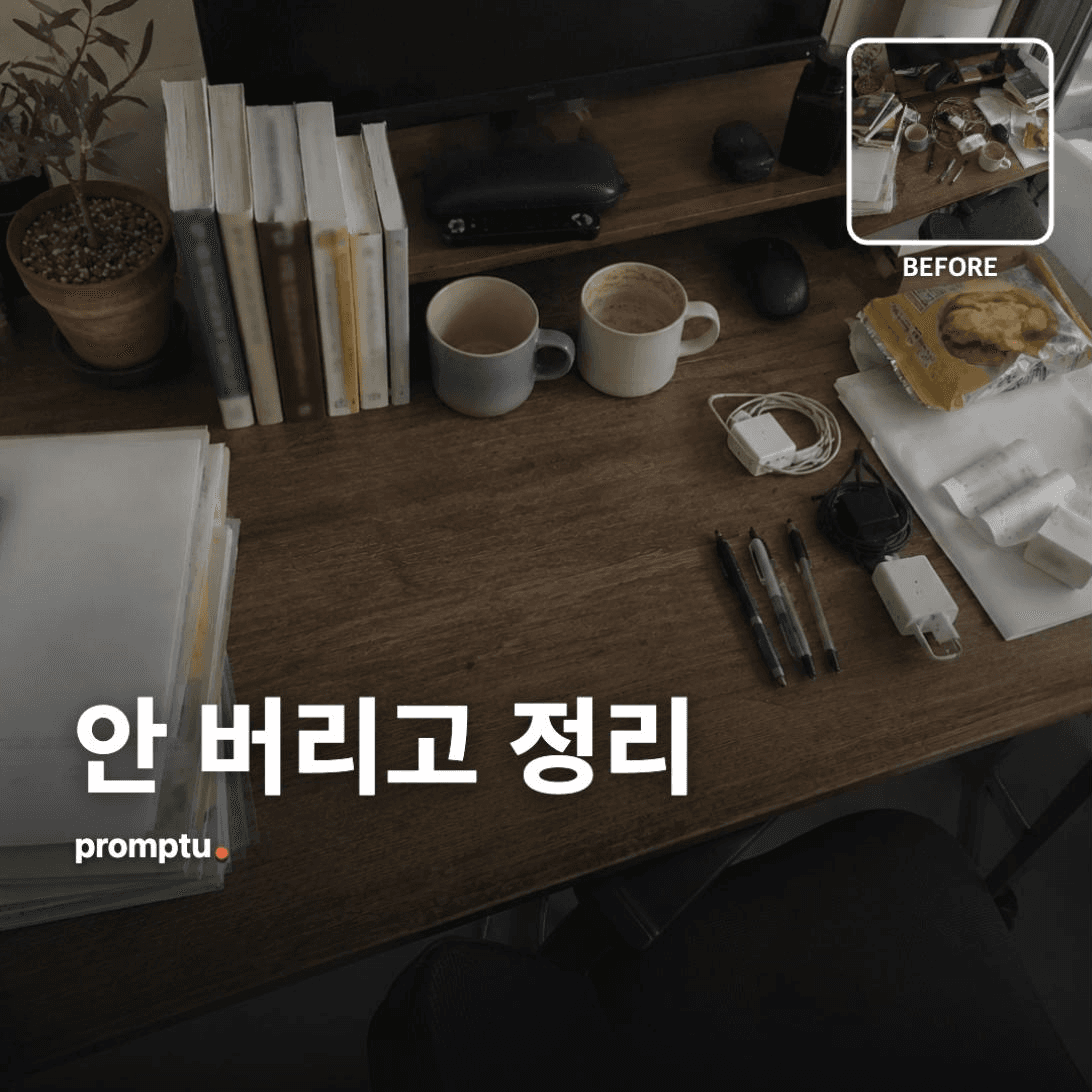
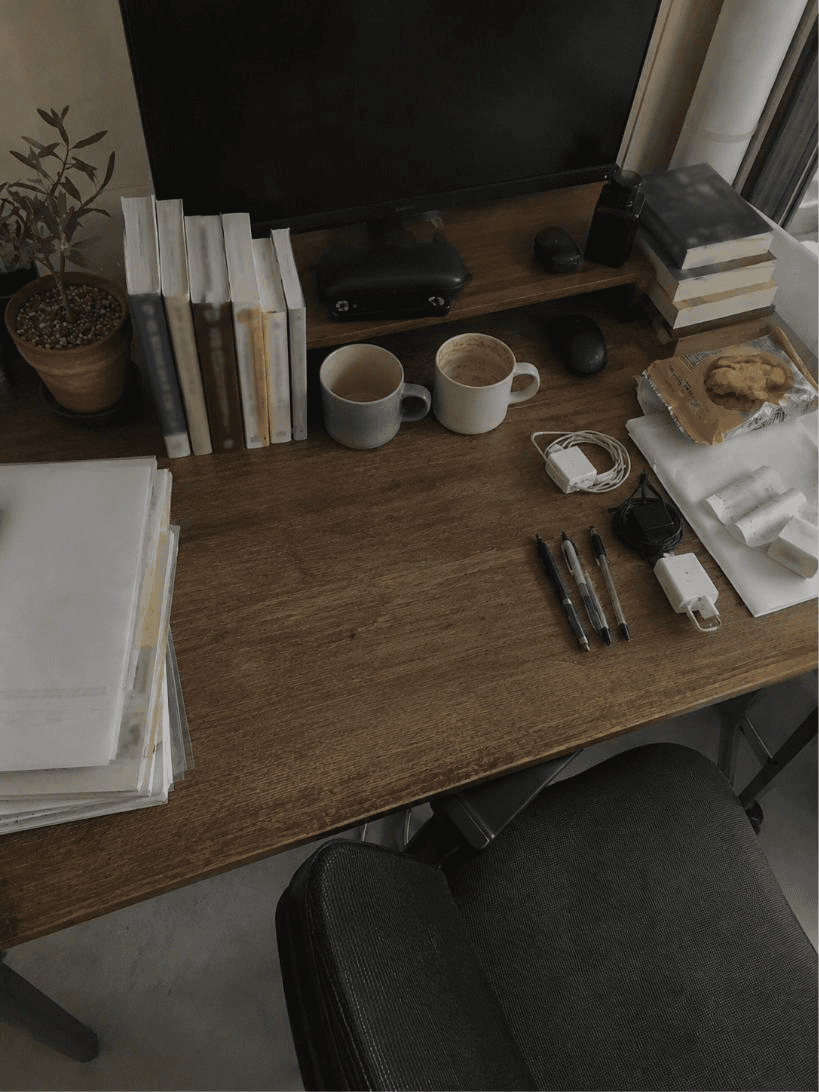
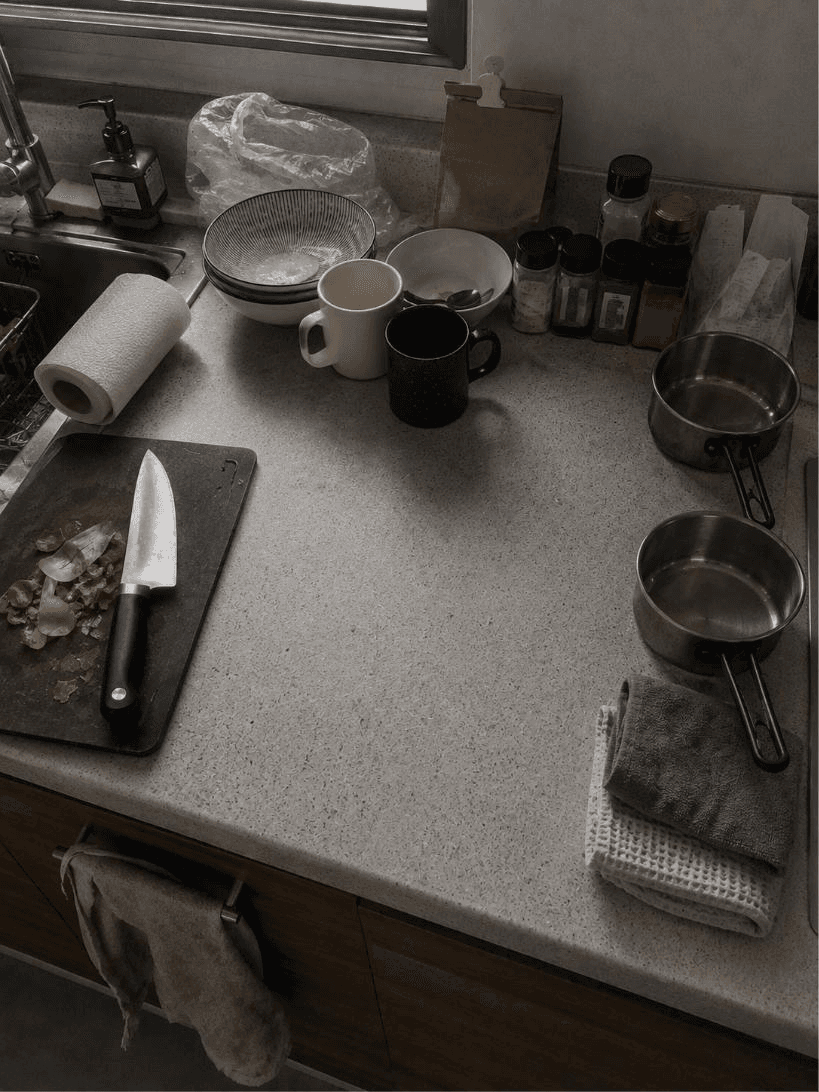
물건은 그대로 두고 정리만 시켜본 내 공간

Your Space, Tidied - Without Throwing Anything Away

Takes a photo of a cluttered space and rearranges it without removing a single object, showing what tidying would actually look like.

0 views·0 copies

Prompt text

Turn the attached photo of a space into the "after tidying" shot. One rule matters above all: nothing gets thrown away.

[Invariants]
1. Do not remove a single object visible in the photo. Count them and keep the count; if something will not fit, move it rather than delete it.
2. Do not invent new furniture, new storage boxes or new props. Use only what is already there.
3. Keep the room layout, window position, wall colour, flooring and light temperature identical. This is tidying, not renovation.

[Tidying rules]
4. Group like with like, and put frequently used things at hand height. Push rarely used things lower or further back.
5. Align vertical lines. Anything that stands - books, boxes, bottles - gets its front faces in one line and its heights stepped.
6. Clear at least 30% of the working surface, and clear it as one block rather than a little in several places - the empty area must read as a single large rectangle. That cleared area is what the eye reads as "tidy". If it still reads at thumbnail size, it passes.
7. Tame the cables. Gather chargers and cords in one direction behind, cutting the visible run by at least half.
8. Keep it lived-in. Do not turn it into an empty show home; leave two or three things currently in use naturally out.

[Camera]
9. Keep the camera position, focal length, time of day and lighting identical to the original. The comparison is the whole point.
10. Keep it real - shoot like an ordinary phone snapshot, using the original photo's own light source, direction and colour temperature. Slightly uneven, imperfect shadows. Real texture - fine scratches and fingerprints on the surface, woven fabric, dust in the corners, pressure marks on cable sleeving, worn edges on well-used things. Faint film grain, muted natural colour, phone-camera sharpness with mild noise. No plastic smoothness, no HDR gloss, no 3D-render feel, no stock-photo perfection.

[Do not]
- Do not make it clean by erasing objects. One missing object is a failure.
- Do not add props to make it look like an interiors magazine.
- Blur or turn away any lettering that identifies a person - labels, documents, name tags.

[Output]
- Finish with one image, and place the original directly above it so the same framing can be compared before and after in one view.
- Give three comparison figures - object count (before = after), percentage of surface cleared, and how far the visible cable run was cut.
- After the image, give the running order: five to seven steps to actually reach this state, each with an estimated number of minutes. Sort by impact, not by difficulty.
- Add one line on holding it: name the first place this state will break, and one habit that guards only that place.

[Fallback]
- With no photo, imagine an ordinary cluttered desk, build from that and say so in one line.
- If there is genuinely too much to place, do not discard anything: make a "holding zone" in one corner of the frame and explain what it is in the text.

Write the result in whatever language the user is using. This instruction must behave identically in any language.
Finish inside this answer. Do not point the user to any external site or extra step.

----
Input
- Photo (required): one shot of the space you want tidied - desk, kitchen counter, bedroom chair, entryway.
- Priority (optional): {{priority}} - e.g. "work efficiency", "make it look bigger", "cooking flow". Leave blank and it will be inferred from the type of space.

Result examples

AI

AI response

Recommended AI: ChatGPT, Gemini

Here is the after shot. All twenty-three objects from the original are still in frame.

The four cables went behind the monitor, bundled in one direction; the visible run is down to about a third. Of the two mugs, one stayed and one moved to the shelf behind - moved, not removed. The six books have their front faces aligned and are stepped by height.

38% of the previously exposed surface is now clear. Emptying the right elbow zone entirely accounts for most of the perceived difference.

Camera position and lighting are unchanged. Window light direction, wall colour and chair position are all identical to the original.


Running order

  1. Take everything off the surface onto the floor — 4 min
  2. Do the cables first and route them behind — 6 min
  3. Put back only the five things used daily — 3 min
  4. Anything used weekly or less goes to the drawer or back shelf — 8 min
  5. Stand what can stand, front faces aligned — 5 min
  6. Leave the right elbow zone empty — 0 min

Twenty-six minutes in total.

Holding it — the first thing to break this is almost always the first object of "I'll just put this here for a second". One habit - before setting anything on the surface, check whether its own kind is already there - noticeably lengthens the time to the next collapse.

Related prompts